Setting up a new planner can be kind of… well, daunting.
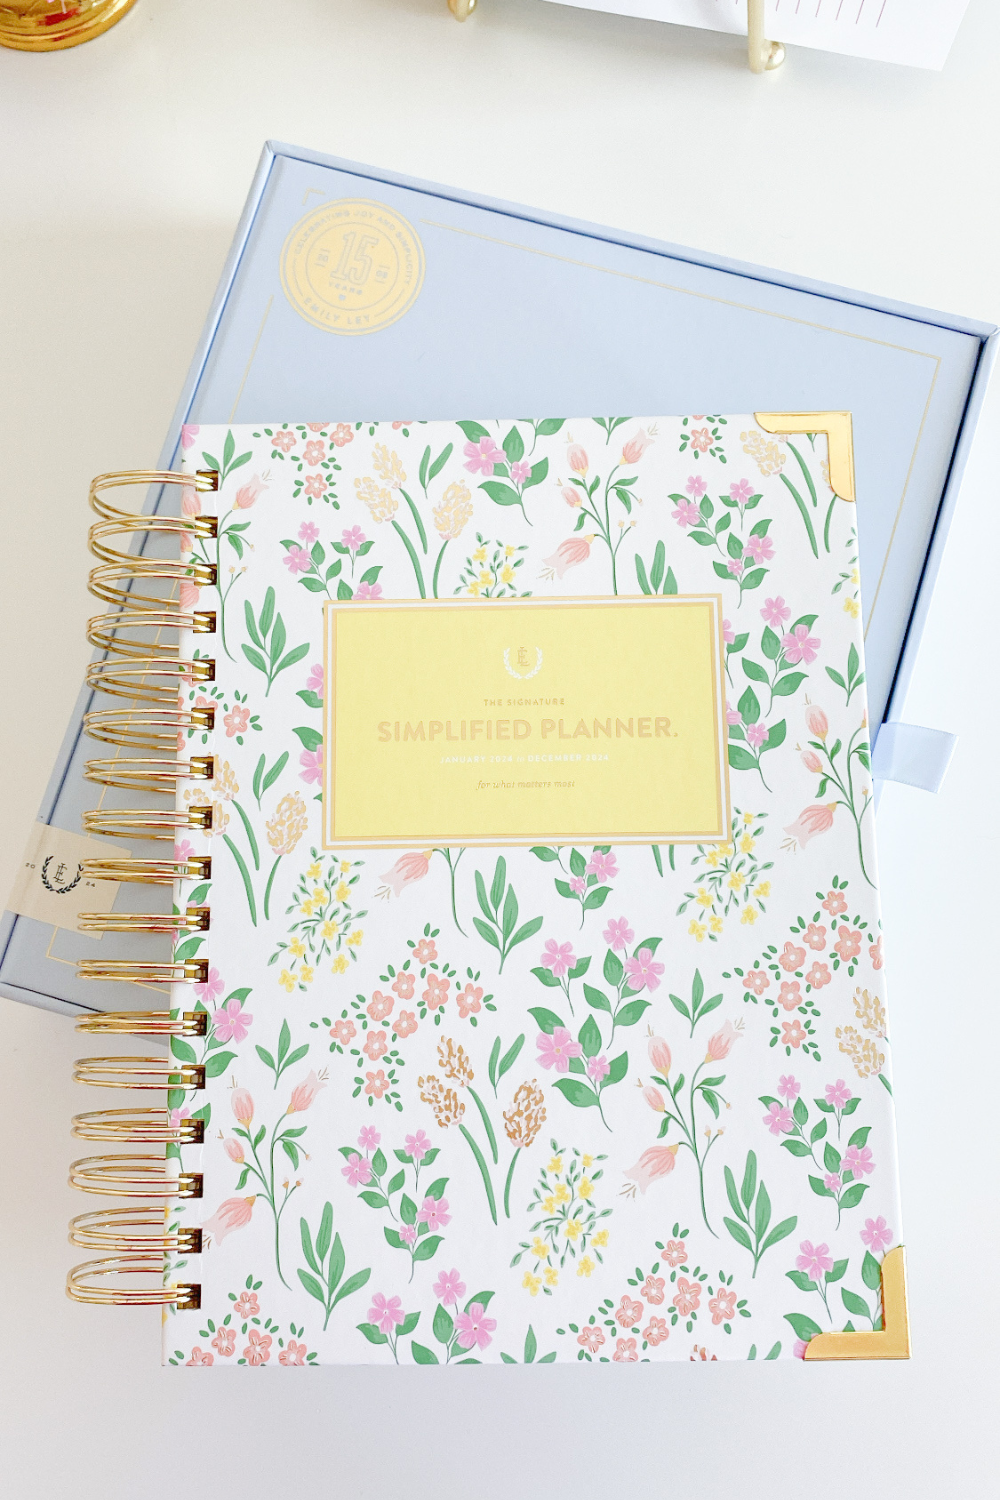
Getting the planner is so darn exciting!! 😍 It’s shiny, pretty, and new. A clean slate and a fresh start for the months ahead. But all those EMPTY pages can be intimidating and scary.
Sometimes those empty pages scare people away from using the planner at all.
But let me tell you something, sister. That planner? It wants to be used!!
I use my Simplified Planner every single day and can’t imagine my life or business without it — and I want you to feel the same way.
That’s why, today, I’m sharing my complete planner setup system so that you can set up your Simplified Planner (or whatever planner you purchased) in a way that works BEST for you!!
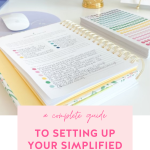
This is the exact system I’ve used for years now and I’m so excited to finally share it AND the White Space Simplified Planner Guide so that YOU can set up your Simplified Planner (or any planner) with confidence… and actually use it all year long!!
Related Post: Why the Simplified Planner is My Go-To Paper Planner
(This post may contain affiliate links, which means I receive a small commission at no extra cost to you if you make a purchase using these links.)
HOW TO SET UP YOUR SIMPLIFIED PLANNER FOR SUCCESS
When you first get your planner, I recommend taking it out of the box and getting to know it. Look at the introduction, the prep work pages, and the daily or weekly pages to see what’s new or changed. This should also start to give you ideas for HOW you want to use your planner in the coming year.
Once you’ve done that, you should set aside some time to set it up or move in as I like to call it.
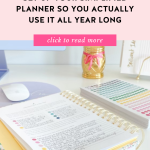
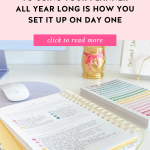
This is especially important because THE KEY to using your planner confidently and consistently all year long is how you set it up on day one — which means doing so in a way that not only WORKS FOR YOU but also INSPIRES YOU to use it every day.
Related Post: How to Make the Most of Your Paper Planner
STEP 1: GIVE YOUR PLANNER A PURPOSE
Take a few minutes to think about WHY you bought it. 🤔
Maybe it was to help you manage your day-to-day schedule, to keep better track of appointments and projects, to tackle all of those to-dos, to simplify, to stay organized, to help you find some sort of balance between your work and your life, to reach your goals…
Giving your planner a purpose gives it VALUE and ultimately makes it an important part of your life and business. You are honestly way more likely to use it when you realize it’s a tool you can’t do either life or business without.
Related Post: How to Use ONE Planner for Life AND Business
STEP 2: FIGURE OUT A SYSTEM FOR HOW AND WHEN YOU’LL USE IT
If using your planner does not become part of your daily routine, you’ll never use it. You must make checking in with it a multiple-times-a-day habit.
My planner is the first thing I reach for in the morning, the last thing I touch at night, and the only thing I check in with multiple times each day.
IT’S A SIMPLE SYSTEM THAT WORKS AND I’M ALL ABOUT SHARING, SO HERE IT IS:
- First thing in the morning: I check in with my planner as part of my workday start-up routine. When I sit down at my desk, before I open my inbox, before I even wake up my computer, I pull out my Simplified Planner to review my schedule and list of to-dos.
- Throughout the day: I like to leave my planner open right beside me while I work so I can clearly see my schedule and check off to-dos as I do them.
- At the end of my workday: I take a few minutes to write out my schedule and to-do list for the next day so I can hit the ground running. It’s the last thing I do before I end my workday.
Pro Tip: I also recommend giving your planner a designated (sacred space) so you always know where to find it!! I like to leave mine right on my desk during the day and in my top desk drawer when I’m not using it.
Related Post: How to End Your Workday for a More Productive Day Tomorrow
STEP 3: FIGURE OUT A COLOR CODING SYSTEM
Color coding can get overwhelming and out of hand pretty fast so I recommend keeping things super simple!! Pick ONE WAY of color coding and that’s it (i.e. don’t color code by family member and type of event). Too many rules or systems is complicated… and if using your planner becomes complicated, you won’t follow through.
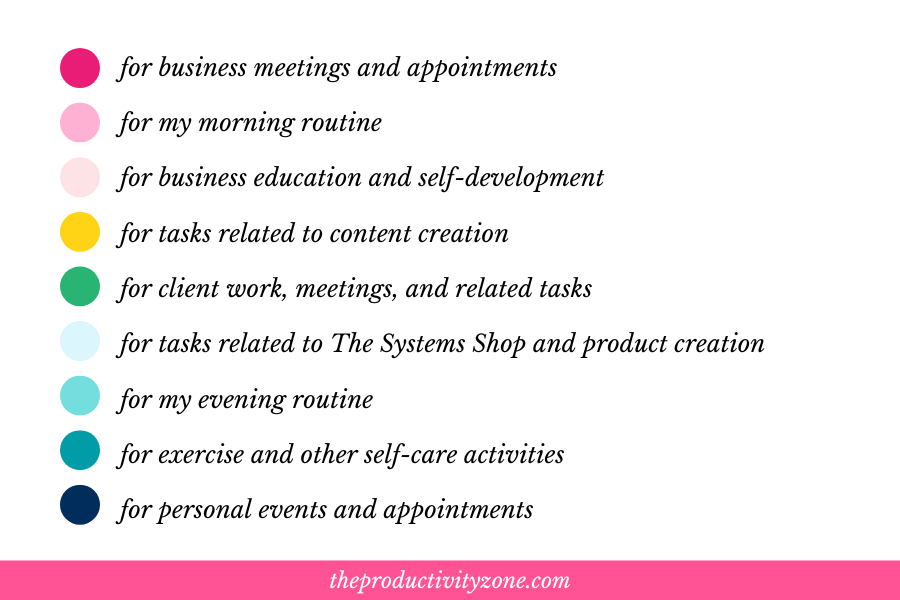
I’ve finally perfected the following system for myself using Simplified’s color-coding stickers:
I recommend trying different color pens, highlighters, or stickers to see which color-coding method works best for you!!
Pro Tip: Make a color coding key and keep it in the front pocket of your planner with your sticker sheets for easy access.
Related Post: 5 Things You Need to Be Color Coding in Your Business
STEP 4: FIGURE OUT A STICKER SYSTEM
Stickers and color coding kind of go hand-in-hand. You do what works best for you, but in case you need some inspiration…
THIS YEAR, I PLAN TO USE:
- Color coding DOT stickers to color code my schedule and to-do list each day.
- Color coding FLAG stickers for indicating 2-hour time blocks on the daily pages AND for making important business days like launches, sales, and Monthly Duty Days stand out on the monthly page spread.
Pro Tip: Stickers are great when used in a way that works for you, but doesn’t distract you. Use them to make important dates or events stand out, but don’t use so many that you can’t figure out what you wrote down for each day’s tasks and to-dos.
Related Post: My Favorite Planner Accessories (And How I Use Them)
STEP 5: DO YOUR SIMPLIFIED PREP WORK
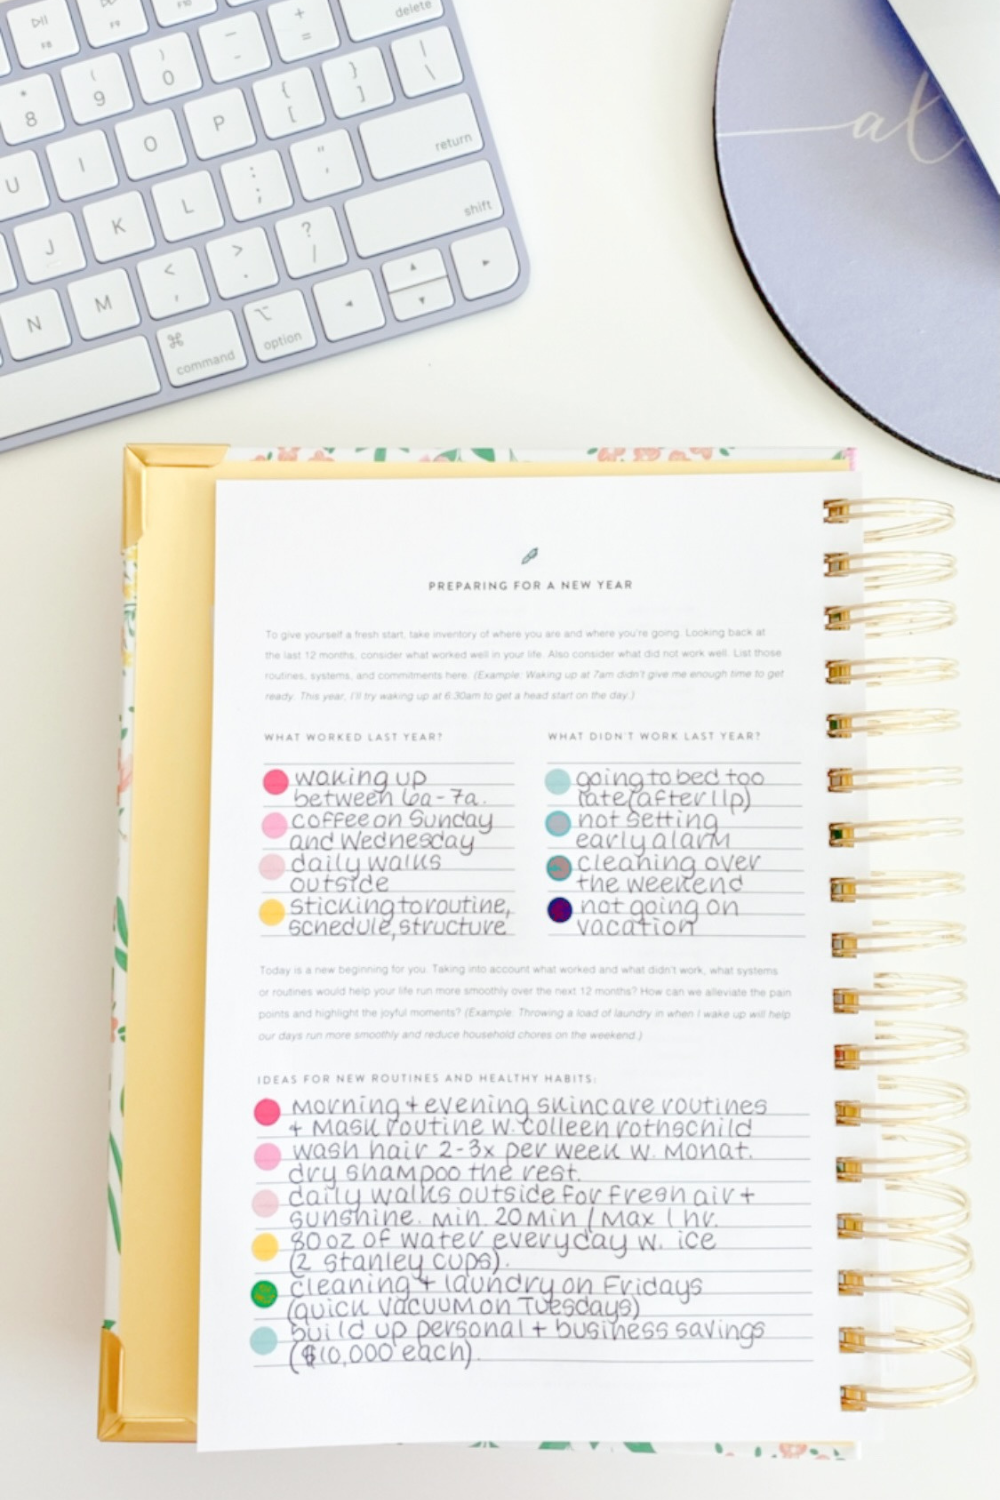
The prep work pages were new to the 2018-2019 Simplified Planner and I’m so glad they’ve decided to make them a staple. I love having the opportunity to look at the things that worked and didn’t work last year, refresh my routines for this year, and more. It really helps set the tone for the coming days, weeks, and months.
*Please note that the prep-work pages are only available in the Signature Simplified (Daily and Weekly) Planners. If you have Dapperdesk, one of the At-A-Glance planners, or another brand of planner, I suggest doing your prep work on notepaper.
THE PREP WORK PAGES HAVE THE FOLLOWING SECTIONS:
- what worked last year
- what didn’t work last year
- ideas for new routines
- ideas for new healthy habits
- weekly routines
- daily (morning and evening) routines
- The Simplicity Challenge
- and yearly bucket list
Pro Tip: If you don’t have one of the Signature Simplified Planners, but want to keep better track of your daily and weekly routines, you could write your morning and evening routines on a post-it and move it from day to day.
STEP 6: WHAT TO PUT ON THE MONTHLY PAGE SPREAD
Think of the monthly page spread as the bird’s eye view of what’s happening that month. It’s the place for all the big-picture stuff, not the nitty-gritty detail stuff.
Write in things like birthdays, anniversaries, school or sporting events for kiddos, school vacations, family vacations, business deadlines, launches, meetings, doctor’s appointments, date nights, self-care days, and long weekends.
I also like to use the notes section on the monthly page spread to keep track of my business goals and focus for the month.
Pro Tip: Write in perpetual dates (the ones that happen on the same day year after year) right away and add in other dates as you schedule them/find out about them. Compare each monthly page spread to your Google Calendar or iCal at the start of each new month to make sure you’ve got everything. Nobody likes to miss a deadline or be surprised by a meeting!!
Related Posts: How to Use a Digital Calendar and Simplified Planner Together + How to Never Miss a Deadline, Appointment, or Meeting Again
STEP 7: WHAT TO PUT ON THE DAILY PAGES OR WEEKLY PAGE SPREAD
The daily pages or weekly page spread are where the hard work and magic happen. It’s the place for all the nitty-gritty detail stuff including where you gotta go, who you gotta see, and what you gotta do.
- Each daily page is split into four simple sections. I use the My Day section to time block my entire day and keep track of related to-dos or other things I must do that day in the To Do section. I keep a food journal in the Notes section and I sometimes use the header space at the top to write a daily affirmation or intention for the week.
- Each weekly page spread includes a lined space for your schedule and a checkmark list for your to-dos. If you don’t have many scheduled meetings or appointments, you could use the lined space for notes instead.
Related Post: Why I Love Time Blocking (And You Should, Too!)
STEP 8: OTHER THINGS TO CONSIDER PUTTING IN YOUR PLANNER
I thought I would share a few of the things I schedule into my planner that make my days, weeks, months, and year so much easier, smoother, and more productive!! I hope you find them as helpful as I do!!
- My Fresh Start Systems are CEO days dedicated to working ON my business and setting myself up for success. I mark the days I’ll do my Annual Review, Quarterly Check Ups, and Monthly Duty Days on the monthly page spread with color coding flag stickers that coordinate with that month’s tab color.
- Power Hours: You know all of those little, one-off tasks that you have to do every day (including the ones that crop up during the day)? I keep track of all of those in the To Do section of each daily page and then binge-do them in a Power Hour (marked with either a fuchsia or navy color coding dot sticker for business or personal tasks) each day. I set a timer, glue my butt to the chair, and get them all done in one hour. It’s way more efficient to batch them together than to do them here, there, and everywhere throughout the day.
- Business Education and Self-Development Time: It can be hard to find time for business education and self-development, which is why you have to make time. Schedule full days, half days, or blocks of time on certain days to get your learn on!! (I like to mark my business education or self-development time with a light pink color coding dot sticker.)
- Introvert Recovery Days come after days that involve A LOT of extroverting. I’m the biggest introvert you’ll probably ever meet and an Introvert Recovery Day is the ONLY thing that gets me back to my normal, energetic, sassy, and productive self.
- Morning and Eventing Routines: Because if you don’t schedule the time, you probably won’t have the time or you’ll forget about them completely. Morning and evening routines should bookend your day and make you feel your absolute best. (If your current routines aren’t doing that for you, we need to talk inside Running on Routines!!)
- Breakfast + Lunch + Dinner: Because if they’re not scheduled into your day, you’ll probably starve. Drinking coffee all day is not enough. Your body and brain need REAL FOOD. So make it a point to schedule meals into your day, every day.
- Travel Time: This is something I see A LOT of people forget when planning their days. They write down dentist appointment at 10am and then pack tasks and to-dos all around it. They forget that it takes 40 minutes with traffic to get there and 40 minutes with traffic to get back. Plan your days accordingly!! Always take into account travel time, traffic, and wait time.
- Wins of the Day: I got this idea from one of my coaching clients. She started to keep track of how many Etsy sales she made every day and how much she earned from those sales in the Notes section of her Daily Simplified Planner. You could also keep track of course sales, client inquiries, email list signups, and more!!
I hope my planner setup process and the White Space Simplified Planner Guide help you find success with your planner this year!! If you have any questions, please leave them in the comments and I’ll get back to you. Most of all, I hope you open the planner you just purchased with confidence and excitement this year!! 🥰
Not sure if the Simplified Planner is right for you? Check out this detailed FAQ!!
SAVE THIS POST ON PINTEREST
Disclaimer: Some of the links in this post could be affiliate links, which means I may earn a commission if you make a purchase through my link at no additional cost to you. I only recommend products and services I personally use, love, and feel make a difference in my business and could do the same for you.
I would love to win a new planner to get myself organized for 2018! Thank you for the giveaway!
I really need to get the simplified planner! With an active toddler in multiple activities, school and trying to be a present wife I’m sure this will help me find the organized balance!!
Great blog. I’ve been wanting to try this planner. I haven’t bought my 2018 yet and already feel so lost. My main goal for next year is starting a family. My husband and I found out I was having problems conceiving and just start on medication to hopefully get me pregnant. That’s the main priority for next year but also I watch two kids one is my nephew and one my sisters friend. Also two other kids here and there. On top of that getting healthy with complications losing weight and my other big big goal is going to college. I’m 31 and waited to long and ready to dive in. Next year is going to be amazing 😊
I would love to win! I am taking Emily Ley’s book ‘Grace Not Perfection’ which is how I learned of her awesome planners. For 2018 I am looking forward to the possibilities, the unknown but tackling it with grace towards myself, patience towards my children and love for those around me.
I fall in love with both this blog & the simplified planner. In 2018 I’ll be working on one of my goals which is to get my associates in Early Childhood. I’ll be also doing fieldwork for 200-300 Hours. Between college, fieldwork, job and personal life I will need some structure and well used of my time. I think that this planner will help me achieve to be more focused and organized. 😍❤ Thanks for this article and I really hope I win this planner!
I’m so looking forward to continuing to be a priority in my life and to watch my wee ones grow!
My life quickly changed in August of 2016. I lived out of my planners (yes, there were multiple) but I got thrown into a teaching job a week before school started 4 states away on top of planning for a wedding! In that mix I stopped feeling like myself. Because I was so busy with everything I stopped living out of my planner and my life has felt so unorganized since then. 2018 is my year to get myself back on track with everything! I hope winning this planner would help me with that goal!
The Simplified Planner will provide a simple organization system for 2018.
I’m excited to tackle 2018 and this would help huge! So exciting!
xoxo
Kyndal
ig: @sustainablesocialite
I plan to work on getting organized in 2018. Pre kids I was, I have no clue how it got so out of hand. Work is blooming for me and I hope 2018 opens more doors. Being organized with help me achieve more. In all that is what I am looking forward to.
This planet would help me in 2018 Brooks organized
I’m excited for a new year and New adventures in 2018! I would definitely love the simplified planner to stay organized.